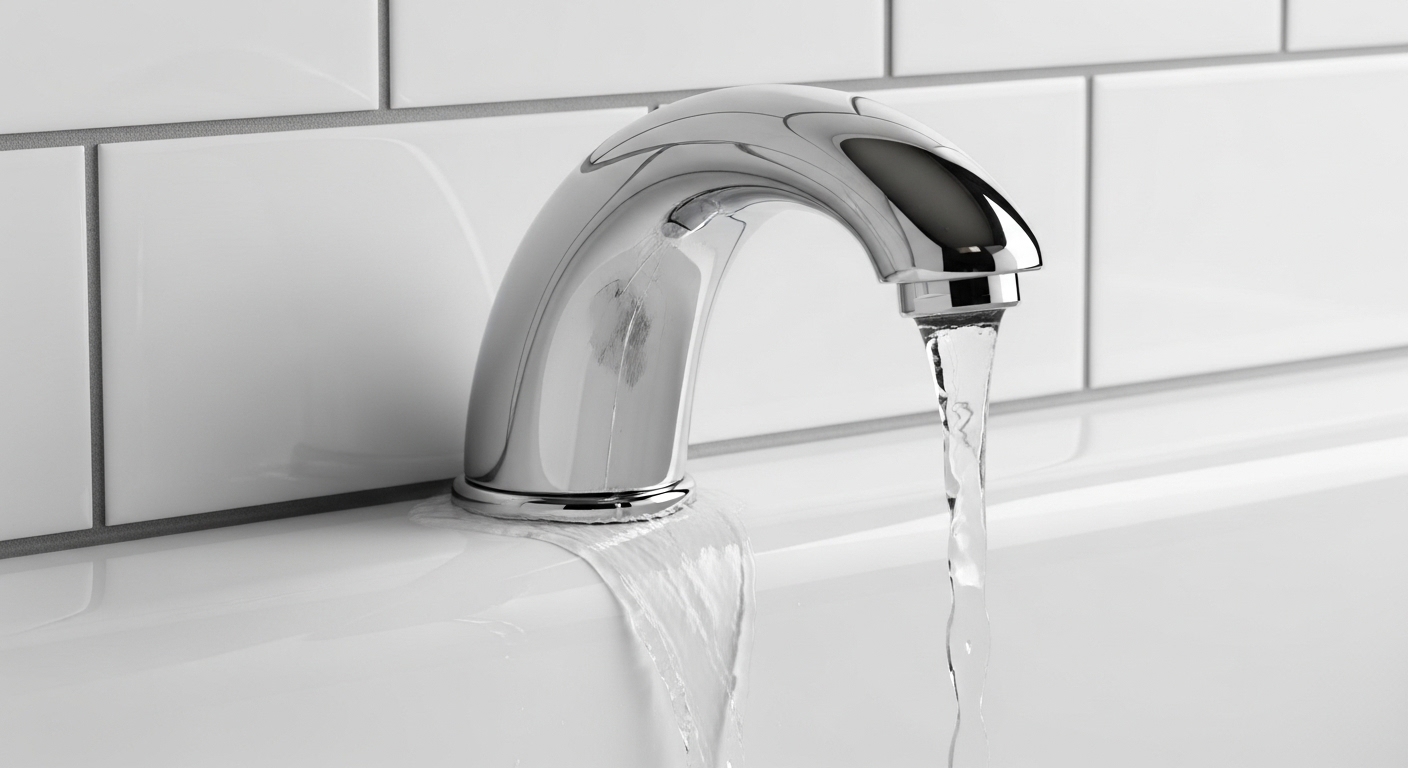
If you’ve got a tub spout leaking at the wall — water trickling down the tile behind or below the spout every time the shower runs — the good news is this is one of the most fixable bathtub problems out there. Nine times out of ten it’s a surface-level seal issue, not a burst pipe inside your wall. Below, I’ll walk you through exactly why it happens, how to tell the difference between a harmless drip and a real problem, and the step-by-step fix for each type of spout. I’ll also show you when it’s genuinely time to call a plumber, so you don’t tear open drywall for a job a $12 spout would have solved.
Why is my tub spout leaking at the wall in the first place?
Your tub spout leaks at the wall because the seal where the spout meets the wall has failed — the connection is no longer watertight, so water sneaks out behind the decorative flange instead of flowing out the front. This is a sealing problem, not usually a plumbing-pipe problem.
There are really only a handful of root causes, and knowing which one you have decides your fix:
- Failed putty or caulk seal. The bead of plumber’s putty or silicone behind the spout base dries out, cracks, and stops blocking water. This is the #1 cause on older tubs.
- A loose spout. Threaded spouts back off over time from thermal expansion and daily use, breaking the seal at the nipple.
- A worn O-ring (slip-fit spouts). Slip-on spouts seal against a copper pipe with a rubber O-ring and a setscrew. When that O-ring hardens, water weeps out around the pipe and down the wall.
- Cross-threaded or wrong-length nipple. A spout screwed on crooked never seats fully, leaving a gap.
- A cracked spout or corroded threads. Cheap pot-metal spouts crack internally and leak from the back.
Here’s the key diagnostic question: when does it leak? If water runs down the wall only when the shower is diverting up (you pull the diverter and use the showerhead), the leak is pressurized water escaping the spout’s back seal. If it leaks when the tub spout itself is running, it’s usually the front/base seal or a cracked spout. That timing tells you where to look.
How do I know if it’s the seal or something inside the wall?
You can tell it’s a simple seal problem — not a burst pipe — if the water only appears while the shower or tub is actively running and stops within a minute of shutting off. A leak inside the wall typically shows up as constant dampness, staining, or a musty smell even when nothing is running.
Do this quick 2-minute test before you touch a tool. Dry the wall completely with a towel. Run only the tub spout (no shower) for 30 seconds and watch where the water first appears. Then dry it again, pull the diverter to send water up to the showerhead, and watch again. Note which mode makes it leak:
| When it leaks | Most likely cause | Typical fix |
|---|---|---|
| Only when tub spout runs | Base/wall seal failed or cracked spout body | Re-seal base or replace spout |
| Only when showerhead runs (diverter up) | Worn diverter or failed back seal at nipple/O-ring | Replace spout, reseal threads or O-ring |
| Constant dampness, even when off | Leak in supply pipe or valve inside wall | Call a licensed plumber — open the wall |
| Only at the very top, above the spout | Grout/caulk failure on tile, not the spout | Re-caulk tile joints |
If the last-row scenario is you — moisture with everything off — stop here and get a pro. That’s the one situation where a tub spout leaking at the wall is actually a wall problem, and DIY sealing won’t touch it. For everything else, keep reading; you can almost certainly fix it yourself.
What’s the difference between a threaded and a slip-fit tub spout, and why does it matter?
It matters because the two spout types attach completely differently, so the repair is different. A threaded spout screws onto a pipe nipple sticking out of the wall; a slip-fit (slip-on) spout slides over a smooth copper pipe and locks with a small hex setscrew underneath. You must know which you have before buying a replacement.
Here’s the fast way to identify yours: look underneath the spout near the wall. If you see a small hex/Allen setscrew on the bottom, it’s a slip-fit spout. No setscrew means it’s threaded — it simply unscrews counterclockwise.
| Feature | Threaded tub spout | Slip-fit tub spout |
|---|---|---|
| Attaches to | Threaded pipe nipple (1/2″ or 3/4″) | Smooth 1/2″ copper stub-out |
| How it locks | Screws on; sealed with tape/putty | Slides on; setscrew + internal O-ring |
| Setscrew underneath? | No | Yes (hex/Allen) |
| Common leak point | Loose threads / dry putty at base | Hardened O-ring at the pipe |
| Removal tool | Cloth + hand or pipe wrench | Allen wrench, then pull straight off |
How do I fix a leaking threaded tub spout step by step?
To fix a leaking threaded tub spout, unscrew it, clean the nipple threads, wrap fresh Teflon tape, add a bead of silicone at the wall, and screw the spout back on hand-tight plus a quarter turn. Total time: about 20 minutes with tools you likely already own.
- Turn off the water if you can (not strictly required for the spout itself, but safer). Lay a towel over the drain so you don’t lose small parts.
- Remove the old spout. Wrap a cloth around it to protect the finish, grip firmly, and turn counterclockwise. If it’s stuck, insert the wooden handle of a hammer into the spout opening for leverage.
- Inspect and clean the nipple. Wipe off old Teflon tape, putty, and corrosion. Check that the pipe nipple isn’t cracked or badly rusted — if it is, replace the nipple too.
- Wrap new Teflon (PTFE) tape around the nipple threads 4–6 times, clockwise, so it tightens as you screw the spout on. This is your primary water seal on the threads.
- Add a thin bead of clear silicone around the wall opening where the spout flange will sit. This blocks water from wicking behind the flange — the exact path that was leaking down your wall.
- Screw the spout on hand-tight, then snug it about a quarter turn more with a cloth-wrapped wrench until it points straight down. Don’t overtighten — you’ll crack the spout or strip the threads.
- Wipe excess silicone, let it cure per the tube (usually a few hours), then test.
One common mistake: using the wrong nipple length. If your new spout doesn’t tighten fully and still points sideways, the nipple is too long or too short. A threaded spout should seat flush against the wall when it points straight down — if it doesn’t, that gap is your future leak.
How do I fix a leaking slip-fit tub spout?
For a slip-fit spout, loosen the setscrew underneath with an Allen wrench, pull the spout straight off, replace the internal O-ring (or the whole spout), lubricate the pipe with plumber’s grease, slide it back on, and retighten the setscrew. This is the fix when water weeps out around the copper pipe.
- Find the setscrew on the underside near the wall and loosen it with the correct hex/Allen key (usually 1/8″ or 3/32″). You don’t have to remove it fully — just back it out enough to free the spout.
- Pull the spout straight off the copper pipe. It may need a firm, wiggling tug; years of grime hold it on.
- Inspect the O-ring inside the back of the spout and the seal seat. A flattened, cracked, or hardened O-ring is your leak. Replace it with the exact size.
- Clean the copper stub-out and check for scoring or scratches that would prevent a seal. Smooth minor burrs with fine sandpaper.
- Apply a thin film of silicone plumber’s grease to the O-ring and pipe so the spout slides on without tearing the seal.
- Slide the spout on fully until it’s flush to the wall, then tighten the setscrew snug — firm, not gorilla-tight.
- Seal the wall gap with a small bead of clear silicone around the base and test after curing.
If your slip-fit pipe is corroded or too short to seal, that’s when a swap to a properly sized spout makes sense. And if you’re already upgrading, it’s worth deciding whether you want a plain spout or one with a built-in diverter — our guide on whether you really need a shower system tub spout or just a shower head breaks down that choice so you buy the right one once.
Which tub spout should I buy to stop the leak for good — under $30?
For most homes, buy a solid-brass spout that matches your connection type (threaded or slip-fit) and your existing finish — expect to spend $15–$30 for one that won’t crack or corrode. Avoid the cheapest zinc/pot-metal spouts; they’re the ones that fail from the back and start this whole problem again.
Here’s what actually matters when you’re standing in the aisle or filtering online:
- Material: Solid brass beats zinc alloy every time. Brass resists corrosion and holds threads; pot-metal cracks internally after a few years of hot water.
- Connection match: Threaded vs. slip-fit is non-negotiable — measure before you buy. Many spouts are “universal” and ship with adapters, but confirm.
- Finish: Match your other fixtures. Chrome and brushed nickel are the safe, durable defaults; if you’re mixing finishes bathroom-wide, our notes on whether brushed nickel faucets are worth it apply to spouts too.
- Diverter or not: If you have a showerhead, you need a diverter spout (the little pull-up knob). If it’s tub-only, a plain spout is simpler and leaks less.
- Length: Measure from the wall to the tip of your old spout. Getting this wrong is the top cause of a spout that won’t seat flush.
Every Fransiton tub spout is machined from lead-free solid brass, pressure-tested before it leaves the factory, and finished to resist the hard-water spotting that plagues bathroom fixtures. We back them with a warranty because a spout is one part you should install once and forget. If hard water is a recurring headache in your bathroom, keep our walkthrough on removing hard water stains from a faucet handy — the same mineral buildup that spots chrome also stiffens O-rings and shortens spout life.
Do I need to open the wall or call a plumber for a leaking tub spout?
You do not need to open the wall for the vast majority of tub-spout leaks — the fix happens entirely from outside. You only need to open the wall (and probably a plumber) if the leak persists with everything shut off, if the pipe nipple is broken off inside the wall, or if you see water damage on the ceiling below a second-floor tub.
Call a licensed plumber when:
- The wall stays wet or smells musty even when no water is running — that points to a supply line or valve leak behind the tile.
- The nipple snapped off flush with the wall and you can’t extract it with a nipple wrench.
- You’ve re-sealed correctly and it still leaks — the mixing valve itself may be failing.
- There’s visible staining on the ceiling of the room below.
Everything short of that is genuinely a DIY job. If you’re comfortable with a wrench and Teflon tape, you can knock this out in an afternoon. The same basic skills carry over to other quick faucet fixes — like fixing a dripping faucet at home — so it’s worth building the confidence.
How do I prevent my tub spout from leaking at the wall again?
Prevent future leaks by sealing the spout base with silicone (not just putty), keeping the spout snug but not overtightened, and swapping the O-ring or spout every 5–7 years before it fails. A two-minute annual check saves you from water sneaking behind the tile.
A few habits that keep the seal alive:
- Re-caulk the wall joint at the first sign of a crack — don’t wait for the drip.
- Don’t hang a shower caddy or grab the spout for balance; side load loosens threaded spouts and breaks the seal.
- Run a water softener or descale periodically if you have hard water — mineral buildup destroys O-rings and diverters fastest.
- Choose brass over pot-metal next time you replace anything. The upfront few dollars pay off in years of leak-free service.
FAQ
Can I use plumber’s putty instead of silicone behind the spout?
You can, but silicone is the better choice for the wall seal because it stays flexible and waterproof longer, while plumber’s putty dries out and cracks — which is often what caused the leak in the first place. Use Teflon tape on the threads for the primary seal, and clear silicone around the base as a water barrier.
Why does my tub spout only leak when I turn on the shower?
Because pulling the diverter pressurizes the water inside the spout. If the back seal (threads or O-ring) is weak, that extra pressure forces water out the rear of the spout and down the wall. This usually means the diverter is worn or the spout body is cracked — replacing the spout is the reliable fix.
How much does it cost to fix a tub spout leaking at the wall?
DIY, you’ll spend about $15–$30 for a quality brass spout plus a few dollars for Teflon tape and silicone. If you hire a plumber for a straightforward spout swap, expect roughly $100–$200 including labor. Opening the wall for a pipe leak costs significantly more, which is exactly why you want to rule out the simple seal fix first.
What size tub spout do I need?
Measure two things: your connection type (threaded vs. slip-fit) and the length from the wall to the tip of your current spout. Most spouts are 4–6 inches long. Slip-fit spouts also need the right internal depth to reach the copper stub-out, so buy one rated for your pipe length or one with a set-length adapter.
Is a leaking tub spout an emergency?
Not usually — if it only leaks while running and dries up quickly, you can safely schedule the repair for the weekend. It becomes urgent if the wall stays wet with the water off, you see ceiling stains below, or there’s a musty smell, since those signal water getting into the wall cavity where it can cause rot and mold.
Can I replace a tub spout without turning off the water?
For most spout swaps you can leave the water on, since the spout is downstream of the valve and won’t gush when removed. That said, shutting off the water is safer and cleaner, especially on slip-fit spouts, and it’s a good habit if you’re not sure about the condition of the valve inside the wall.
About the author: This guide was written by the Fransiton fixtures team, drawing on hands-on installation and bench-testing of hundreds of tub spouts and shower valves. Fransiton designs and manufactures bathroom and kitchen fixtures built to ASME/ANSI performance standards, pressure-tested before shipping and backed by a manufacturer’s warranty. When in doubt about a leak inside the wall, we’ll always tell you to call a licensed plumber — getting it right matters more than getting it done fast.
Pingback: My Tub Spout Moves Side to Side — Is That Bad, and How Do I Fix It? - Fransiton
Pingback: What Is a Tub Spout Escutcheon Square, and Do You Actually Need One for Your Tub? - Fransiton