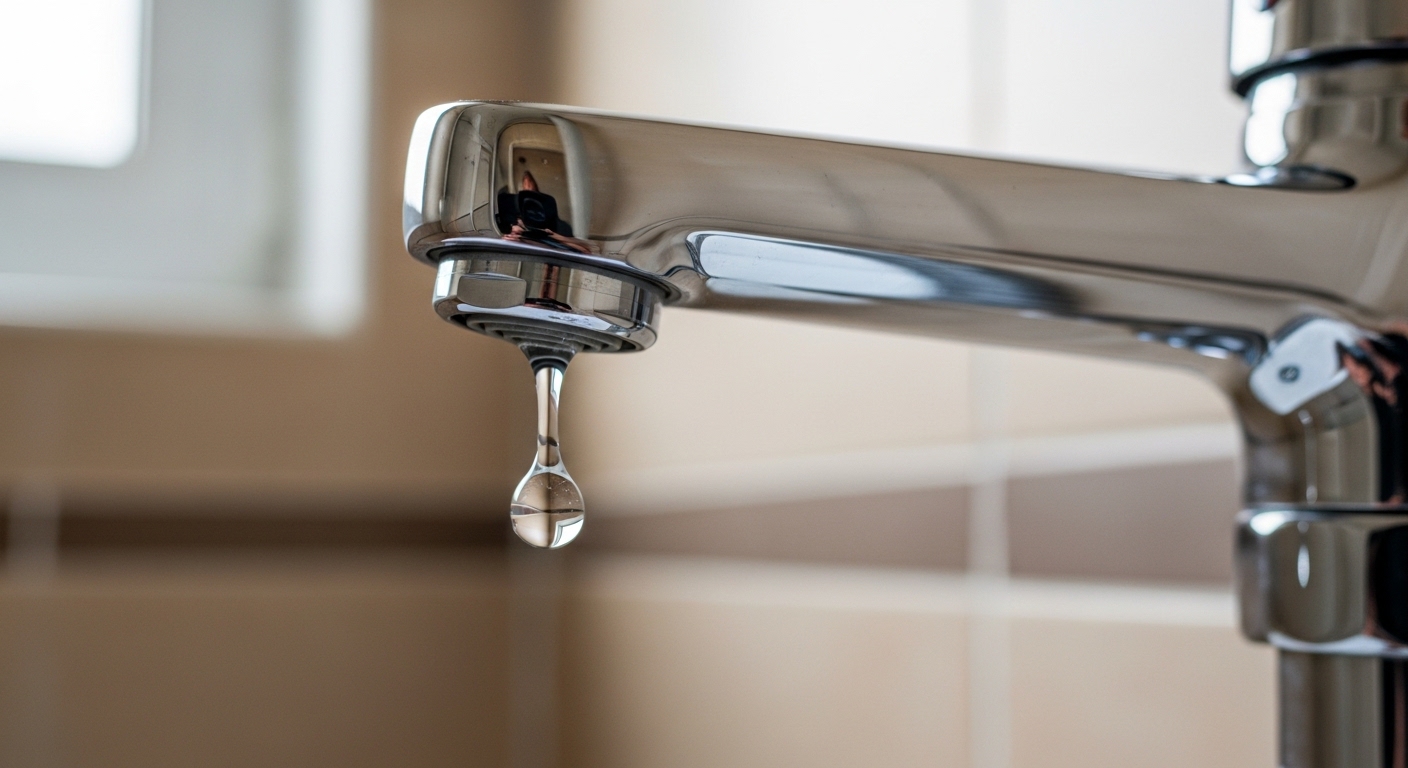
If you’ve been Googling shower faucet dripping how to fix at 11 p.m. because that tick… tick… tick is keeping you awake, here’s the honest version: this is one of the most fixable plumbing problems in your whole house. The water dripping out of the showerhead or tub spout isn’t a showerhead problem — it’s the valve behind the wall failing to seal. Fix or swap the part that seals, and the drip stops. Below I’ll walk you through exactly how, what parts to buy, and how to know when a repair isn’t worth it.
A single dripping shower faucet wastes real money, too. A drip every second adds up to roughly 1,300–3,000 gallons a year, and if it’s the hot side, you’re paying to heat all of it. So this is a repair worth doing right.
Why is my shower faucet dripping in the first place?
Your shower faucet is dripping because the internal part that’s supposed to stop the water — usually the cartridge, but sometimes a rubber seat, spring, O-ring, or washer — has worn out or gotten crusted with mineral scale. When that seal fails, a small amount of pressurized water sneaks past even when the handle is fully “off,” and it trickles out the lowest opening: your showerhead or tub spout.
Here’s what’s actually happening inside the wall. When you turn the handle off, an internal component presses against a smooth seat to block the flow. Over years of hot water, chlorine, and hard-water minerals, three things go wrong:
- The cartridge wears out. Most modern single-handle showers use a cartridge — a cylindrical valve you can pull and replace. Its internal seals harden and crack, and it stops shutting cleanly. This is the #1 cause of a dripping shower faucet.
- Rubber seats and springs fail. Older two- or three-handle setups use rubber washers or a seat-and-spring assembly. Rubber gets brittle; springs lose tension.
- Mineral scale scratches the seal. Hard water leaves deposits that score the sealing surface so it can never fully close again. If your fixtures also show white crust, that’s the same culprit — here’s how to clean hard water stains from a faucet so scale doesn’t chew through the new part too.
One important distinction: a drip from the showerhead right after you shut off is often just water draining out of the head and hose — totally normal for 30–60 seconds. A drip that keeps going for minutes or hours is a valve problem. That’s the one we’re fixing.
How do I fix a dripping shower faucet myself (step by step)?
To fix a dripping shower faucet, shut off the water, remove the handle and trim, pull out the cartridge (or rebuild the stem), replace the worn part, and reassemble. For a standard single-handle cartridge valve, plan on 30–60 minutes. Here’s the full sequence.
- Shut off the water. Some showers have integral stops behind the trim plate (turn the small screws clockwise). If not, close your home’s main supply. Then open the shower handle to relieve pressure and confirm the water’s actually off.
- Cover the drain. Lay a rag or a drain cover over the tub/shower drain so you don’t lose the tiny set screw down the pipe. This one step saves a lot of grief.
- Remove the handle. Pop off the decorative cap or button, then loosen the set screw (usually a hex/Allen screw underneath or on the side). Pull the handle straight off.
- Remove the trim and retaining clip. Unscrew the escutcheon (the round wall plate) if needed, then use needle-nose pliers to pull the horseshoe-shaped brass retaining clip that locks the cartridge in place. Don’t lose it.
- Pull the cartridge. Grip the cartridge stem with pliers and wiggle it straight out, or use an inexpensive cartridge-puller tool that matches your brand. Note the orientation (“hot” side, notches up) before it comes out — reinstalling rotated 180° swaps your hot and cold.
- Inspect and replace. Look at the O-rings and the tip of the cartridge. If it’s a cartridge valve, replacing the whole cartridge is the reliable fix. If it’s an old washer/seat design, replace the rubber washer, the seat, and the spring as a set.
- Grease and reinstall. Coat new O-rings with plumber’s silicone grease (never petroleum jelly — it degrades rubber). Slide the new cartridge in with the same orientation, reinsert the clip, and reassemble the trim and handle.
- Test. Turn the water back on slowly, run hot and cold, and watch for 10 minutes. No drip means you’re done.
The logic here is identical to fixing a sink — if you’ve ever tackled a dripping faucet at home, you already understand the “worn seal, swap the part” principle. The shower just hides its valve inside the wall.
What tools and parts do I actually need?
You need very little: a hex/Allen key set, a Phillips and flathead screwdriver, needle-nose pliers, plumber’s silicone grease, and the correct replacement cartridge or rebuild kit for your faucet brand. A brand-specific cartridge puller ($8–$15) is optional but makes stuck cartridges painless.
The single most important step before buying anything: identify your faucet brand and model. Cartridges are not universal. Look for a logo on the handle or trim plate, and if you can, pull the old cartridge first and match it at the store or online by shape and length. Buying the wrong cartridge is the #1 reason a “quick fix” turns into two trips.
Which type of shower valve do I have, and does the fix change?
Yes — the fix depends on your valve type. Single-handle showers almost always use a replaceable cartridge; two- and three-handle showers usually use rubber washers or a seat-and-spring assembly. Here’s how the common types compare so you know what you’re dealing with before you open the wall.
| Valve type | How you recognize it | Most common drip cause | Typical fix & part cost | DIY difficulty |
|---|---|---|---|---|
| Cartridge (single-handle) | One lever/knob controls temp + flow | Worn cartridge or O-rings | Replace cartridge, $15–$45 | Easy–Moderate |
| Compression (two/three-handle) | Separate hot & cold handles you screw shut | Cracked rubber washer / worn seat | Rebuild kit (washer, seat, spring), $8–$20 | Easy |
| Ball valve | Single handle that moves in a dome, common in older units | Worn springs, seats, or ball | Brand rebuild kit, $15–$30 | Moderate |
| Ceramic disc | Single handle, very smooth quarter-turn feel | Scored disc or seals from hard water | Replace disc cartridge, $25–$60 | Moderate |
| Thermostatic / pressure-balance | Shower system with anti-scald control | Failed balance spool or cartridge | Brand-specific cartridge, $30–$90 | Moderate–Hard |
If you have a full shower system with a tub spout, the diagnosis has one extra wrinkle worth knowing — sometimes the “drip” is actually water sneaking past the diverter. We break down how those work in our guide to the shower system tub spout, and it’s worth a read before you assume the valve is the problem.
Why does water drip from the tub spout instead of the showerhead?
If water drips from the tub spout while the shower is running, or trickles from the spout after everything’s off, the issue is usually a failing valve cartridge or a worn diverter inside the spout. In a tub-shower combo, the same worn cartridge that causes a showerhead drip can cause a spout drip — but a bad diverter causes a different symptom (water coming out both the spout and head at once).
If yours is specifically leaking where the spout meets the wall rather than from the spout opening, that’s a separate seal issue entirely — our walkthrough on a tub spout leaking at the wall covers that exact fix so you don’t tear apart the valve for nothing.
How much does it cost to fix a dripping shower faucet — DIY vs. a plumber?
Fixing it yourself typically costs $10–$60 in parts. Hiring a plumber runs $150–$350 for a cartridge or washer replacement, more if they have to cut into the wall or the valve body itself is corroded. For a straightforward cartridge swap, DIY saves you the majority of that.
Here’s how to think about the money:
- Cartridge or washer replacement: Almost always DIY-worthy. Parts are cheap and the job is contained to the trim.
- Corroded valve body: If the brass valve behind the wall is cracked or eaten by corrosion, that’s a soldering/wall-access job — call a pro.
- You’ve replaced the cartridge twice and it still drips: The sealing surface (seat) inside the valve body is likely scored. Time for a pro or a full valve replacement.
A quick reality check: even a “cheap” plumber visit costs more than most people’s entire toolkit. If your drip is a cartridge or washer — and statistically it usually is — this is the kind of repair that pays for a nice dinner in saved labor.
Will fixing the drip change my water pressure or flow?
No — replacing a worn cartridge restores your faucet’s intended flow; it won’t reduce your shower pressure. If anything, clearing out a scaled-up, half-failed cartridge often makes the shower feel better. Your actual flow rate is set by the showerhead’s GPM rating, not the repair. If you’re curious how much water your shower is designed to deliver, our explainer on shower faucet GPM lays out what the numbers mean and whether higher is actually better.
When should I just replace the whole shower faucet instead of fixing it?
Replace the whole faucet — not just the cartridge — when the valve body is cracked or badly corroded, when replacement cartridges are discontinued, when you’ve already rebuilt it and it still drips, or when you simply want to upgrade the look and function. If the fix keeps failing, you’re patching a valve that’s past its service life.
Signs it’s time for a new valve or full shower faucet:
- You can see green/white corrosion or pitting on the brass valve body.
- Parts for your model are no longer made (common with builder-grade fixtures 15+ years old).
- The handle is loose or wobbly at the base even after tightening — a symptom that mirrors a loose kitchen faucet handle and points to worn internals.
- You’ve replaced the cartridge and it drips again within months.
- You want thermostatic/pressure-balance anti-scald protection your old valve doesn’t have.
Upgrading is also a good moment to rethink finish and style. A modern pressure-balance shower faucet gives you safer, more consistent temperature and a cleaner look. If you’re weighing finishes for the whole bathroom, our take on whether brushed nickel faucets are worth it will help you match the new shower trim to the rest of the room.
How do I stop this from happening again?
Prevent future drips by managing hard water and using quality parts. Mineral scale is the slow killer of every shower valve. Three habits make cartridges last years longer:
- Address hard water. If you have scale-prone water, a whole-home or point-of-use softening/filtration setup dramatically extends valve life.
- Use silicone grease, not petroleum products, on O-rings during any repair.
- Don’t crank the handle shut. Overtightening compression valves shreds washers faster. “Off” should be firm, not forced.
Author note & why you can trust this guide
This guide was written by the fransiton fixtures team — we design, test, and sell shower faucets, cartridges, and bathroom fixtures full time, and we handle real customer repair questions every week. We’ve disassembled hundreds of valves across cartridge, compression, ball, and ceramic-disc designs, so the steps above reflect what actually works on a wall, not just theory.
On the standards side: quality shower valves and cartridges should meet recognized plumbing and safety benchmarks (such as ASME A112.18.1 / CSA B125.1 for fixture fittings and NSF/ANSI 61 for drinking-water safety), and reputable brands back their trim and cartridges with a warranty — often a limited lifetime warranty on the finish and function. At fransiton, our fixtures are pressure-tested before shipping, and we keep replacement cartridges available so a future repair is a five-dollar part, not a full replacement. Always keep your model number; it turns any repair into a fast, correct part match.
FAQ
Can I fix a dripping shower faucet without turning off the main water supply?
Only if your shower valve has built-in integral stops behind the trim plate — small screws you can close to isolate just that fixture. If it doesn’t have them (many older valves don’t), you must shut off the main water supply before removing the cartridge, or you’ll get a high-pressure spray. When in doubt, use the main shutoff.
How long does it take to fix a dripping shower faucet?
For a standard single-handle cartridge valve, most people finish in 30–60 minutes, including cleanup. A simple washer replacement on a two-handle faucet can take as little as 20 minutes. Add time if the cartridge is stuck with mineral scale and you need a puller tool to coax it out.
Why is my shower faucet still dripping after I replaced the cartridge?
Usually one of three reasons: the new cartridge is the wrong model, it was installed rotated (misaligned), or the sealing seat inside the valve body is scored and can’t seal against any new part. Double-check the model and orientation first. If both are correct and it still drips, the valve body itself likely needs professional attention or replacement.
Is a dripping shower faucet an emergency?
No, it’s not an emergency, but don’t ignore it. A steady drip wastes 1,000+ gallons a year, drives up your water and heating bills, and the constant moisture can stain the tub and encourage mildew. It’s a low-urgency, high-value repair — fix it within a week or two rather than letting it run for months.
Do I need to know my faucet brand to fix the drip?
For cartridge and disc valves, yes — cartridges are brand- and model-specific, so matching the exact part is essential. For basic compression (two-handle) faucets, generic washer-and-seat rebuild kits often work. The safest approach is to remove the old part first and match it by shape and size before buying.
Can hard water really cause a shower faucet to drip?
Absolutely. Mineral deposits build up on the cartridge and the smooth sealing seat, scratching and clogging the surfaces that are supposed to shut off cleanly. That’s why homes with hard water go through cartridges faster. Cleaning scale off fixtures and softening or filtering your water meaningfully extends the life of every valve in the house.