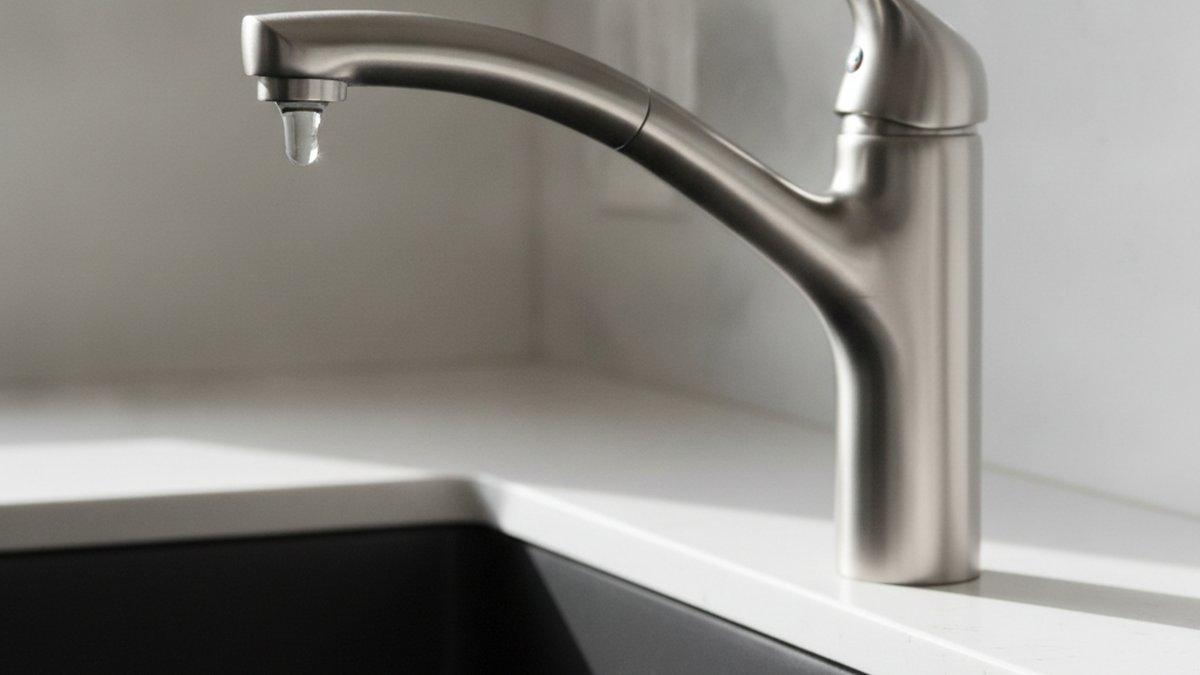
If your kitchen faucet dripping when water is off is driving you up the wall — that slow tick… tick… tick into the sink at 2 a.m. — the good news is it’s one of the most fixable plumbing problems in the house. The drip is not random. Water is under constant pressure behind your faucet, and the only thing holding it back when the handle is in the “off” position is a small sealing part. When that part wears out, pressure wins and you get a drip. Below, I’ll walk you through exactly which part failed, how to confirm it in five minutes, and how to fix it yourself before your next water bill.
A dripping faucet isn’t just annoying, either. A single drip per second wastes roughly 3,000 gallons a year — enough to fill a backyard pool partway. So this is worth fixing fast, and you almost certainly can.
What actually causes a kitchen faucet to drip when it’s turned off?
When a faucet drips with the handle fully closed, one of four internal seals has failed: the cartridge, the O-rings, the rubber valve seat/springs, or (less often) the supply connection. The handle moves fine, but the component that’s supposed to block water at the “off” point has cracked, worn flat, or gotten clogged with mineral scale.
Here’s the plain-English version of what’s happening inside. Your faucet has a stem or cartridge that lifts and rotates to let hot and cold water mix and flow. When you push the handle down to “off,” that cartridge is supposed to press a rubber or ceramic surface tight against an opening, like a cork in a bottle. Over months and years, three things chew that seal apart:
- Mineral scale. Hard water leaves calcium and lime deposits that scratch and prop open the sealing surfaces so they can’t fully close.
- Normal wear. Rubber O-rings and washers compress, crack, and go brittle — especially on faucets more than 5–7 years old.
- Grit and debris. A tiny piece of sediment or a sand grain lodged on the valve seat holds the seal open just enough to drip.
Because the water line is always pressurized (typically 40–80 psi in a home), even a microscopic gap turns into a steady drip. That’s why the drip keeps going long after you’ve shut the handle — the pressure never lets up.
How do I tell if it’s the cartridge, an O-ring, or the valve seat?
Look at where the water shows up: a drip from the spout tip means the cartridge or valve seat failed, water pooling at the base of the spout points to worn O-rings, and water under the sink points to the supply line or shutoff valve — not the faucet body at all.
This one observation saves you from buying the wrong part. Run through this quick diagnostic:
| Where the water appears | Most likely cause | Typical fix | Part cost |
|---|---|---|---|
| Dripping from the spout tip (handle off) | Worn cartridge or valve seat/springs | Replace cartridge or seats & springs | $15–$40 |
| Water weeping around the spout base when running | Cracked or flattened O-rings | Replace O-ring set | $5–$15 |
| Drip only on the hot or only the cold side | One failed seat/spring or stem seal | Replace the affected side | $5–$20 |
| Puddle in the cabinet under the sink | Supply line or shutoff valve leak | Tighten or replace supply line | $8–$20 |
| Drip from the pull-down sprayer head | Worn sprayer seal or diverter | Replace spray head or diverter | $10–$30 |
A fast test: shut off, wipe the spout and base bone-dry with a paper towel, then come back in 10 minutes. Whichever spot is wet first tells you the culprit. If the puddle is in the cabinet instead of the sink, your faucet is innocent — it’s a faucet supply line under the sink or a shutoff valve that needs attention, and that’s a separate (also easy) fix.
Can I fix a dripping kitchen faucet myself, or do I need a plumber?
Yes — about 90% of “faucet dripping when off” problems are a confident DIY job that takes 30–45 minutes with basic hand tools and a $15–$40 replacement cartridge. You only need a plumber if the faucet body itself is cracked, the shutoff valves won’t close, or the cartridge is corroded so badly it won’t budge.
If you can turn a screwdriver and an adjustable wrench, you can do this. The trickiest part for beginners is simply identifying the faucet brand and model so you buy the matching cartridge — Moen, Delta, Kohler, and Pfister all use different designs, and some use proprietary parts. Snap a photo of the faucet and look for a model number stamped under the spout or on the original paperwork. If you’d rather understand the full menu of what can wear out first, our guide to kitchen faucet parts replacement breaks down each component and whether it’s worth replacing versus swapping the whole faucet.
What tools and parts do I need before I start?
Keep it simple — you need a way to grip, a way to unscrew, and the correct replacement seal. Here’s the short list:
- Replacement cartridge or O-ring/seat kit that matches your faucet brand and model
- Adjustable wrench and/or channel-lock pliers
- Phillips and flathead screwdrivers (plus a hex/Allen key for set screws)
- Cartridge puller (for stubborn Moen-style cartridges) — optional but handy
- Plumber’s grease (silicone) for the new O-rings
- White vinegar and an old toothbrush for descaling
- A towel and a bucket for the cabinet
Buy the parts first. Nothing’s worse than getting the faucet apart only to discover the hardware store closed. If you’re new to faucet work entirely, it helps to review the basic sink faucet install tools you’ll want on hand — the same kit covers a repair and a full swap.
How do I replace a faucet cartridge to stop the drip? (step by step)
Shut off the water, pull the handle and old cartridge, clean the housing, drop in the new cartridge, and reassemble — that sequence fixes the vast majority of drips. Here’s the full walkthrough.
- Shut off the water. Turn both shutoff valves under the sink clockwise until they stop. If there are no shutoffs (older homes), close the main. Then open the faucet to release pressure and drain the lines.
- Plug the drain. Drop in the stopper or a rag so a dropped set screw doesn’t vanish down the pipe.
- Remove the handle. Pop off the decorative cap, loosen the set screw with your hex key, and lift the handle straight up. On two-handle faucets, do the leaking side.
- Remove the retaining nut/clip. Unscrew the bonnet nut with pliers or slide out the horseshoe-shaped retaining clip that locks the cartridge in place.
- Pull the old cartridge. Grip it with pliers and pull straight up while twisting slightly. If it’s stuck from scale, a cartridge puller tool gives you the leverage.
- Inspect and clean. Look at the old cartridge — flattened rubber or cracked O-rings confirm your diagnosis. Scrub the housing with vinegar and a toothbrush to clear mineral buildup, then rinse.
- Install the new cartridge. Coat the new O-rings with plumber’s grease, align the cartridge the same way the old one sat (notches matter — getting it 180° off swaps your hot and cold), and press it fully home.
- Reassemble. Replace the clip/nut, handle, and set screw in reverse order.
- Turn the water back on slowly. Open the shutoffs gradually, run the faucet, and check for drips and leaks. Done.
One honest caution: align the cartridge carefully. The single most common rookie mistake is reversing hot and cold or seating the cartridge slightly crooked, which causes a new leak. Take the two extra seconds to match the orientation of the part you removed.
Why does my faucet drip only sometimes, or start dripping again after I fixed it?
Intermittent drips are usually caused by water-pressure spikes, trapped debris, or a cartridge that was reinstalled slightly off — and a drip that returns after a repair almost always means the wrong part was used, a surface wasn’t cleaned, or there’s a deeper issue like a scored valve seat.
If the drip comes and goes, here’s what’s typically going on:
- Pressure spikes. High or fluctuating household water pressure (over 80 psi) can force water past a marginal seal only at peak times. A pressure gauge on an outdoor spigot tells you fast; if you’re consistently over 80 psi, a pressure-reducing valve is worth installing.
- Thermal expansion. As hot water heats the lines, expanding pressure can briefly push a drip through a worn seat even with the handle off.
- Stuck debris. A grain of grit that comes and goes on the valve seat causes an on-and-off drip. Flushing the lines and cleaning the seat usually clears it.
- A scored valve seat. If you replaced the cartridge and it still drips, the brass seat the cartridge presses against may be pitted. Some faucets let you replace or reface the seat; others mean it’s time for a new faucet.
If a drip returns within days of a cartridge swap, 95% of the time it’s a mismatched part or a bit of scale left in the housing. Pull it back apart, confirm the model number, and make sure the housing is spotless before reseating. The same logic applies to bathroom fixtures — if you’re also chasing a Delta bathroom faucet leaking at the handle, the diagnostic path is nearly identical.
Is it worth repairing an old faucet, or should I just replace it?
Repair if the faucet is under about 8 years old, from a quality brand, and the body is solid — a cartridge is far cheaper than a new faucet. Replace it if the finish is peeling, the body is cracked or heavily corroded, parts are discontinued, or you’ve already rebuilt it once and it’s dripping again.
Think of it as a value calculation. A cartridge and O-ring kit runs $15–$40 and buys you years more life on a good faucet. But if you’ve got a bargain-bin faucet whose chrome is flaking, or a model so old that parts are unavailable, you’ll spend more time hunting for discontinued seals than a new faucet would cost. Modern faucets also seal better and use less water.
| Situation | Repair | Replace |
|---|---|---|
| Faucet under 8 years, quality brand | ✅ Best choice | — |
| Cartridge available, body solid | ✅ Cheap, fast | — |
| Finish peeling / body corroded or cracked | — | ✅ Replace |
| Parts discontinued / brand unknown | — | ✅ Replace |
| Already rebuilt once, still drips | — | ✅ Replace |
| You want to upgrade style/function | — | ✅ Replace |
If you decide to upgrade, a quality ceramic-disc faucet will outlast old rubber-washer designs by years. Many homeowners switching from a two-handle setup go with a single lever faucet sink for easier one-hand control and fewer seals to wear out — fewer moving parts means fewer future drips.
How do I prevent my kitchen faucet from dripping again?
The two biggest drip-killers are controlling hard-water scale and not over-tightening the handle. Faucets don’t need to be cranked shut — ceramic cartridges seal with a light touch, and forcing the handle just grinds the seat.
A few habits keep a faucet drip-free for years:
- Don’t muscle the handle. Shut it firmly, not forcefully. Over-tightening wears the seat faster.
- Descale the aerator every few months. Unscrew it, soak it in vinegar, and rinse — keeps mineral grit from migrating into the valve.
- Consider a water softener if you have very hard water. It protects the whole plumbing system, not just the faucet.
- Keep house pressure in range. 40–60 psi is the sweet spot; above 80 psi, add a pressure-reducing valve.
- Grease O-rings when you service the faucet. A dab of silicone plumber’s grease keeps seals supple.
Also worth knowing: if the drip is coming from the spout specifically rather than the handle or base, our detailed guide to a faucet dripping from the spout drills into that exact scenario and the quickest fixes.
FAQ
Why does my kitchen faucet keep dripping even after I turn it off tightly?
Because the problem isn’t how hard you turn the handle — it’s a worn internal seal. When the cartridge, valve seat, or O-ring is damaged, no amount of extra force will make it seal, and over-tightening actually accelerates the wear. The fix is replacing the worn part, usually the cartridge, not cranking harder on the handle.
How much does it cost to fix a kitchen faucet that drips when off?
If you DIY it, expect $15–$40 for a replacement cartridge and $5–$15 for an O-ring or seat/spring kit, plus tools you likely already own. Hiring a plumber typically runs $125–$250 including the part and a service call. Since the repair takes most people under an hour, DIY saves the labor cost entirely.
Can a dripping faucet raise my water bill a lot?
Yes, more than people expect. A faucet dripping once per second wastes about 3,000 gallons a year; a faster drip or small stream can waste 10,000+ gallons. On top of the water cost, if it’s the hot side dripping you’re also paying to heat water that goes straight down the drain, so fixing it quickly pays for itself.
Is it normal for a new faucet to drip a little right after installation?
A few drops as trapped air and water clear the lines in the first minute is normal. A continuous drip after that is not — it usually means the cartridge wasn’t seated fully, an O-ring got pinched during installation, or a supply connection is loose. Shut off the water, recheck the cartridge orientation and the fittings, and it should stop.
How long should a kitchen faucet cartridge last before it drips?
A quality ceramic-disc cartridge typically lasts 5–10 years or more; cheaper rubber-washer designs may start dripping in 2–4 years, especially in hard-water areas. Mineral scale is the biggest factor — homes with very hard water see seals wear out noticeably faster, which is why periodic descaling extends the life of every part in the faucet.
Which brands’ cartridges are easiest to replace myself?
Moen, Delta, and Kohler are the most DIY-friendly because replacement cartridges are widely stocked at any hardware store and each brand’s design is well documented. Delta’s seat-and-spring system is especially cheap and simple. The key for any brand is matching the exact model number, since cartridges are not universal between manufacturers.
About the author: This guide was written by the Fransiton fixture team, a group of plumbing-product specialists who test and install kitchen and bathroom faucets year-round. We’ve diagnosed and rebuilt hundreds of dripping faucets across every major brand, and our recommendations reflect hands-on repairs, not spec sheets.
About Fransiton: Fransiton designs and sells kitchen and bathroom faucets, shower heads, and fixtures built to standard U.S. plumbing dimensions. Our faucets use ceramic-disc cartridges rated for 500,000+ open/close cycles, meet NSF/ANSI 61 and 372 lead-free standards, and are backed by a limited lifetime warranty on finish and function — so if a cartridge ever fails under normal use, it’s covered. Every model is pressure-tested before it ships.