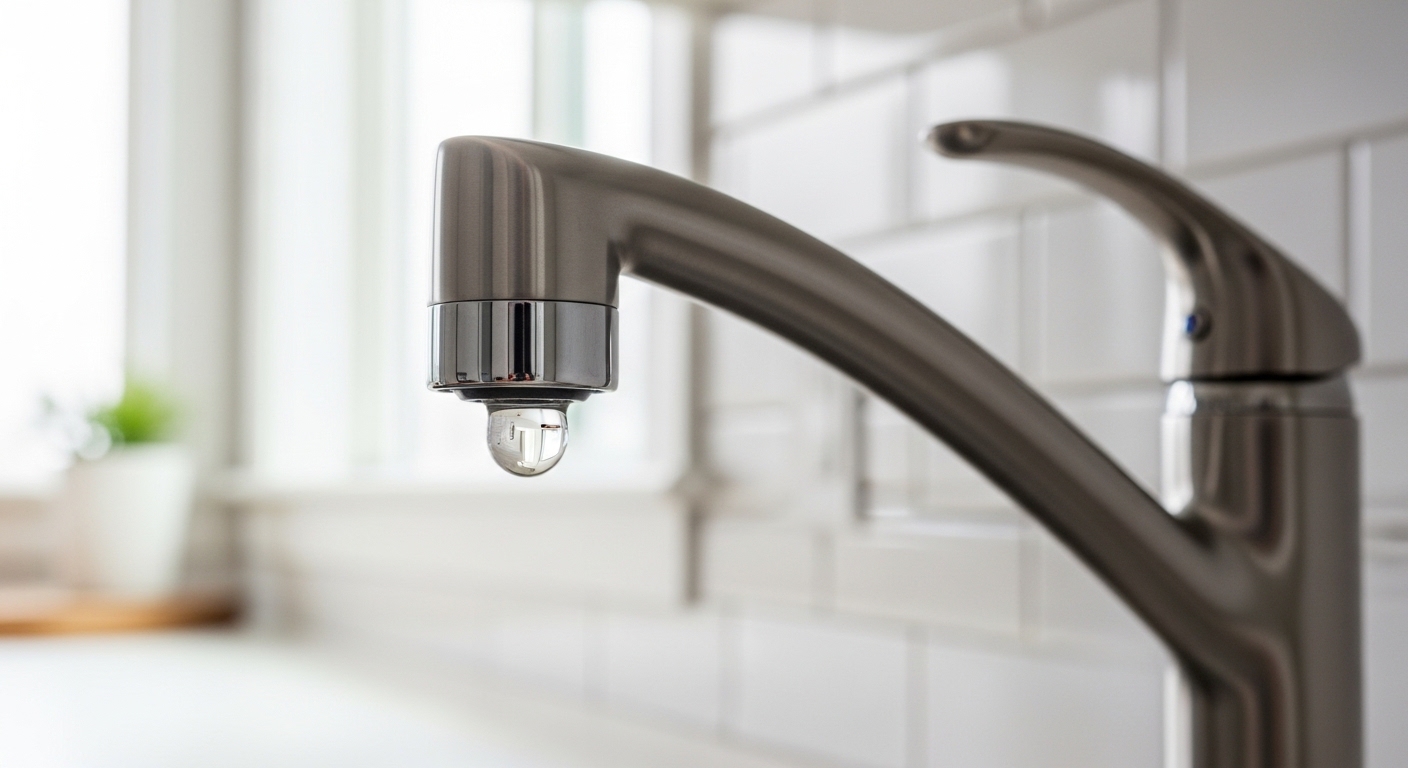
If you’ve got a dripping sink faucet in the kitchen that keeps you up at night with that slow tick… tick… tick, the good news is you almost certainly don’t need a plumber. In the vast majority of cases, the leak comes from one small, cheap, replaceable part inside the faucet — not the faucet body itself. Below, we’ll walk through exactly what’s causing it, how to diagnose which part failed, and how to fix it step by step, in plain language, even if you’ve never held a wrench under a sink before.
A single dripping faucet can waste over 3,000 gallons of water a year — roughly 180 showers — so this isn’t just an annoyance. It’s money literally going down the drain. Let’s stop it.
Why is my kitchen sink faucet dripping in the first place?
Your kitchen faucet is dripping because an internal seal has worn out — most commonly the cartridge, a rubber O-ring, or a washer. These parts control the flow and pressure of water, and they take a beating every single time you turn the faucet on and off. Over months and years, they harden, crack, or wear thin, and water starts sneaking past them even when the handle is “off.”
Here’s the key insight most homeowners miss: where the water shows up tells you which part failed.
- Dripping from the spout tip (the classic kitchen drip) → almost always a worn cartridge or, on older faucets, a rubber washer/seat.
- Leaking around the base of the handle → usually a worn O-ring or a loose packing nut.
- Water pooling under the sink → a supply line or connection issue, not an internal seal (different fix — check the hoses and shutoff valves).
- Leaking at the base of the spout where it swivels → the large spout O-rings have failed.
Hard water makes all of this worse and faster. Mineral deposits build up on the cartridge and seals, scratching them and preventing a clean seal. If you live somewhere with hard water, descaling your fixtures regularly genuinely extends their life — here’s our guide on how to clean hard water stains from a faucet, which doubles as good preventive maintenance for the leak you’re fixing today.
How do I figure out what kind of kitchen faucet I have?
Before you can fix it, you need to know your faucet’s valve type, because that determines which part you’re replacing. There are four common designs, and you can usually identify yours by how the handle moves.
| Faucet Type | How to Recognize It | Most Common Drip Cause | Typical Fix Cost |
|---|---|---|---|
| Cartridge (single or double handle) | Handle lifts up/down smoothly; no “stop” point | Worn cartridge | $10–$25 |
| Ball (single handle) | One handle that rotates in a dome/ball shape | Worn springs, seats, or O-rings | $15–$30 (repair kit) |
| Ceramic disc | Single lever, wide cylindrical body, very smooth | Worn neoprene seals or cracked disc | $10–$40 |
| Compression (older, two handles) | Handles you screw tight; have a hard “stop” | Worn rubber washer or valve seat | $5–$15 |
Most kitchen faucets sold in the last 15 years — including Fransiton’s pull-down and single-handle models — use a cartridge, which is the easiest of the bunch to replace. Compression faucets are the old two-handle style you’ll find in homes built before the 1990s. If you can take a quick photo of your faucet and note the brand stamped on it, finding the exact replacement part becomes much easier.
What tools and parts do I need to fix a dripping sink faucet in the kitchen?
You need surprisingly little. A dripping sink faucet in the kitchen is one of the most beginner-friendly plumbing repairs there is, and most of these tools are probably already in a drawer.
Tools:
- Flathead and Phillips screwdrivers
- Allen (hex) key set — most modern handles use a small set screw
- Adjustable wrench or channel-lock pliers
- A cartridge puller (only for stubborn cartridges; often not needed)
- A clean rag and a small bowl or cup
- White vinegar (for descaling parts)
- Plumber’s grease (silicone-based)
Parts: Whatever your diagnosis pointed to — a replacement cartridge, an O-ring kit, a ball-faucet repair kit, or a washer/seat set. Always match the brand and model. A $12 manufacturer cartridge that fits perfectly beats a $4 universal one that almost fits and leaks again in a month.
How do you fix a dripping cartridge kitchen faucet step by step?
To fix the most common kind of dripping kitchen faucet — a single-handle cartridge model — shut off the water, remove the handle, pull out the worn cartridge, drop in the new one, and put it back together. Here’s the full sequence.
- Shut off the water. Reach under the sink and turn both shutoff valves clockwise until they stop. Then turn the faucet on to release pressure and confirm the water is truly off. No drip while running = you’re good.
- Plug the drain. Drop in the sink stopper or lay a rag over the opening so a dropped set screw doesn’t disappear forever.
- Remove the handle. Find the set screw (usually under the handle or behind a small decorative cap) and loosen it with your Allen key. Lift the handle straight off.
- Remove the retaining nut and clip. Underneath you’ll find a dome/bonnet nut and often a small horseshoe-shaped retaining clip. Unscrew the nut with pliers and pull the clip out with a flathead or needle-nose pliers.
- Pull out the old cartridge. Grip it with pliers and pull straight up. Note its orientation — take a photo before it comes out so the new one goes in the same way.
- Inspect and clean. Look at the cartridge and O-rings. You’ll usually see cracks, grooves, or mineral crust. Wipe the valve body clean; soak crusty parts in white vinegar for 10–15 minutes.
- Install the new cartridge. Lightly coat the new O-rings with plumber’s grease, then push the new cartridge in with the same orientation as the old one. Replace the clip and nut.
- Reassemble and test. Put the handle back, tighten the set screw, then slowly turn the shutoff valves back on. Run the faucet and watch the spout. No drip? You just saved a service call.
This same teardown logic applies to a leaky handle too — if your handle is wobbling rather than dripping, the fix is closely related but slightly different. See our walkthrough on why a kitchen faucet handle gets loose and how to fix it fast. And for a broader look at every drip scenario across the house, our guide on how to fix a dripping faucet at home covers bathroom and tub fixtures too.
Why does my kitchen faucet still drip after I replaced the cartridge?
If your faucet still drips after a cartridge swap, the usual culprits are an incorrect or low-quality replacement part, debris stuck in the valve seat, or O-rings you forgot to replace. A new cartridge fixes the leak only if it’s the right cartridge seated correctly.
Run through this checklist:
- Wrong part: “Universal” cartridges often don’t seal precisely. Match the exact brand/model.
- Debris in the seat: A grain of grit or mineral flake under the cartridge breaks the seal. Pull it back out, flush the valve body with water, and reinstall.
- Old O-rings left in place: If you replaced the cartridge but the spout still weeps at the base, the large spout O-rings are the real problem — replace those too.
- Cartridge installed backward: Many cartridges have an alignment notch or flat. If hot/cold are reversed or it drips, it may be 180° off.
- Worn valve seat (compression faucets): If the brass seat the washer presses against is pitted, no new washer will seal until you grind it smooth with a seat-dressing tool or replace the seat.
If you’ve done all of this and it still drips, the faucet body itself may be cracked or corroded internally — at that point, replacement is the smarter move than chasing the leak.
Should I repair or just replace my dripping kitchen faucet?
Repair if the faucet is under ~8–10 years old, the finish is still good, and it’s a quality brand with available parts. Replace if it’s old, corroded, low-end, or you’ve already repaired it more than once.
Here’s the honest math. A repair runs $5–$30 in parts. A solid new kitchen faucet runs $90–$300. If your faucet is a decent brand and just needs a cartridge, repair every time — it’s cheaper and greener. But if it’s a builder-grade faucet from a decade ago that’s pitting, dripping, and the spray head is failing, you’ll spend more time nursing it than it’s worth. A modern faucet with ceramic-disc valves and a solid warranty will likely outlast the repair.
| Situation | Best Move | Why |
|---|---|---|
| Quality faucet under 8 years, single worn part | Repair | $5–$30 fix; parts readily available |
| Multiple failing parts at once | Lean toward replace | Repair costs stack up; reliability drops |
| Visible corrosion or cracked body | Replace | Seals can’t fix a compromised body |
| Low-end faucet, already repaired before | Replace | Upgrade to ceramic-disc + warranty |
If you do decide to upgrade, you don’t necessarily need a pro for that either — our step-by-step kitchen faucet installation guide walks you through a full swap in about an hour.
How do I stop my kitchen faucet from dripping again?
To keep a kitchen faucet from dripping again, reduce wear on the seals: ease off how hard you crank the handle, descale regularly if you have hard water, and choose ceramic-disc valves on your next faucet. Seals fail from abrasion and mineral buildup — minimize both and you’ll go years between repairs.
- Don’t muscle the handle. Gentle off is enough; slamming it compresses seals faster.
- Descale every few months. Wipe the aerator and spout with vinegar to keep minerals out of the valve.
- Replace O-rings proactively. When you’re already in there, a fresh O-ring kit and a dab of plumber’s grease is cheap insurance.
- Choose ceramic-disc valves next time. They’re rated for hundreds of thousands of cycles and shrug off grit far better than rubber washers.
FAQ
How much does it cost to fix a dripping kitchen faucet?
If you do it yourself, $5–$30 in parts — a washer kit is the cheapest, a brand-name cartridge the priciest. If you hire a plumber, expect $100–$250 including labor and the service call, which is exactly why this DIY fix is so worth learning.
Can a dripping faucet stop on its own?
No. A drip is a sign of physical wear or buildup inside the valve, and that only gets worse with time. Temperature changes might make it seem to come and go, but the underlying seal won’t repair itself — it needs to be cleaned or replaced.
Do I need to turn off the main water supply to fix a kitchen faucet drip?
Usually not. Most kitchens have dedicated shutoff valves under the sink — turn those clockwise to isolate just that faucet. Only shut off the main if those under-sink valves are seized or missing.
Why is my faucet dripping only at night or when no one is using it?
That’s the textbook symptom of a worn cartridge or washer: the seal can’t fully stop the standing water pressure, so it weeps slowly when nothing is calling for water. The drip is there all day — you just notice it when the kitchen is quiet.
How long should a kitchen faucet cartridge last?
A quality cartridge typically lasts 5–10 years, and ceramic-disc versions can last even longer. Hard water shortens that lifespan, while regular descaling extends it. If you’re replacing cartridges every couple of years, your water hardness — not the faucet — is likely the real issue.
Is it normal for a brand-new faucet to drip?
No. A new faucet that drips usually has a manufacturing defect, debris from installation lodged in the valve, or a connection that wasn’t fully seated. Flush the lines, recheck the install, and if it persists, use the warranty — a reputable brand will replace it.
About the author: This guide was written by the Fransiton fixtures team, drawing on hands-on testing of single-handle, pull-down, and two-handle kitchen faucets across a range of water conditions. We’ve torn down and rebuilt hundreds of cartridges and valves to document exactly what fails and why.
About Fransiton: Fransiton designs and sells kitchen and bathroom faucets, shower heads, and bathroom fixtures built around durable ceramic-disc valve technology. Our faucets are tested to meet industry flow and durability standards (including lead-free compliance and cycle testing), and we back them with a limited lifetime warranty on the finish and function — so when a seal eventually wears, the replacement part is a quick, supported fix rather than a whole new faucet.