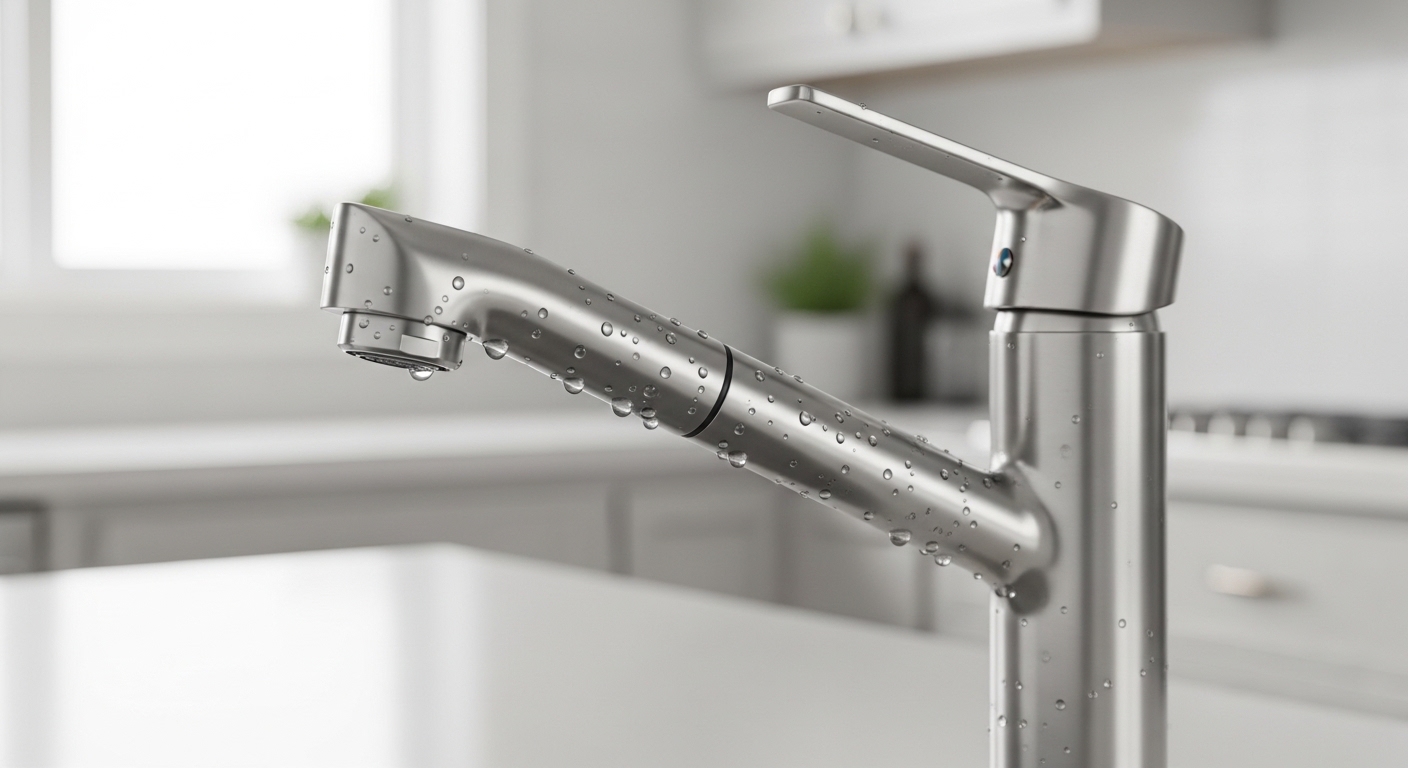
If your kitchen faucet handle loose wobble has gotten to the point where the handle spins, lifts off, or flops side to side, don’t panic and don’t reach for the phone to call a plumber just yet. In the overwhelming majority of cases this is a quick, cheap, DIY-level fix. Below, the team at Fransiton walks you through exactly why it happens, how to diagnose which of the three usual culprits you’re dealing with, and the step-by-step repair — plus when a wobbly handle is actually a warning sign of something worth replacing.
Why is my kitchen faucet handle loose in the first place?
A kitchen faucet handle goes loose for one of three reasons: the small set screw that clamps the handle to the valve stem has vibrated loose, the cartridge or valve stem inside has worn down, or the mounting nut that holds the whole faucet body to the sink has loosened from years of use. Identifying which one you have takes about 30 seconds of wiggling.
Here’s the quick logic. If only the handle wobbles but the faucet body is rock-solid, it’s the set screw or the cartridge. If the entire faucet rocks back and forth when you push the handle, the mounting hardware under the sink has come loose. And if the handle feels loose and water control has gotten sloppy (hard to get the right temperature, won’t shut off fully), the cartridge is worn.
- Handle spins or lifts, body is firm → set screw backed out (most common, 2-minute fix).
- Handle is mushy/loose AND temperature control is poor → worn cartridge or stem.
- Whole faucet rocks at the base → mounting nut loose under the sink.
Constant daily use — thousands of on/off cycles a year — naturally works metal fasteners loose through vibration. Hard water and mineral buildup accelerate cartridge wear. None of this means your faucet is junk; it just means a fastener or a wear part needs attention.
How do I tighten a loose single-handle kitchen faucet (the set-screw fix)?
For a single-handle faucet, tighten the hidden hex set screw under or behind the handle with a small Allen key — this fixes about 70% of loose-handle cases. The set screw is usually tucked under the lever, behind a small decorative cap, or directly beneath the handle.
Step by step:
- Find the set screw. Look under the handle lever or pop off the small round cap (often marked red/blue or with the brand logo) on the front or side of the handle. Behind it sits a recessed hex screw.
- Pick the right hex key. Most kitchen faucets use a 7/64″ or 5/64″ (or 2.5mm/3mm) Allen wrench. A cheap hex key set covers every size.
- Hold the handle straight in the “off” position so it seats correctly on the stem.
- Turn the set screw clockwise until snug. Don’t gorilla it — over-tightening can strip the soft brass or crack the handle. Firm and stop.
- Test. Wiggle the handle. Rock-solid? Done. Pop the cap back on.
If you tighten the set screw and the handle still wobbles, the stem the handle clamps onto may be worn round, which means it’s cartridge time (see below). A pro tip from our service techs: add a tiny dab of plumber’s grease or a single wrap of plumber’s tape on the stem before reseating a handle that keeps slipping — it gives the set screw something to bite into.
What if the whole faucet rocks — how do I fix a loose faucet base?
If the entire faucet body rocks when you move the handle, the mounting nut under the sink has loosened and needs to be re-tightened from below — this is a 10-minute job but you’ll be lying on your back in the cabinet. The faucet is held to the sink deck by one or two large plastic or brass nuts (or a mounting bracket) underneath.
- Clear out the cabinet under the sink and grab a flashlight or headlamp.
- Locate the mounting nut(s) directly beneath where the faucet passes through the sink or countertop.
- Tighten by hand first, then snug with a basin wrench (the tool made exactly for this tight spot) or an adjustable wrench. Turn clockwise.
- Have a helper hold the faucet straight from above so it ends up centered and facing forward as you tighten.
- Don’t over-torque plastic nuts — they only need to be firm.
While you’re under there, run your fingers along the supply line connections. A faucet that’s been rocking for a while sometimes loosens its water-line fittings too, and a slow drip down there can rot your cabinet base. If you spot any moisture, that’s a separate quick fix — our guide on how to fix a dripping faucet at home covers tightening and sealing those connections properly.
How do I know if it’s the cartridge — and is that still worth fixing?
It’s the cartridge when the handle feels loose and sloppy in operation: hard to dial in temperature, weak or uneven flow, drips after shut-off, or a handle that no longer clamps tight even after you’ve tightened the set screw. A cartridge is the heart of the faucet’s valve, and replacing one typically costs $15–$40 and 20 minutes.
To replace a cartridge:
- Shut off the water at the two valves under the sink and open the faucet to release pressure.
- Remove the handle (set screw again) and any decorative dome/collar.
- Pull the retaining clip or nut holding the cartridge in place — needle-nose pliers help.
- Pull the old cartridge straight up. Note its orientation; the new one must go in the same way.
- Match the replacement exactly to your brand and model — take the old one to the store or order the OEM part.
- Insert the new cartridge, reclip, reassemble, turn water back on, and test slowly.
One honest caveat: if your faucet is 10–15+ years old, the finish is pitting, the spout leaks at the base, and the cartridge is shot, you’re often better off replacing the whole faucet than chasing parts. A new mid-range pull-down faucet costs about the same as two cartridges plus your afternoon. If you land there, our walkthrough on how to install a kitchen faucet step by step makes the swap genuinely beginner-friendly.
Which fix do I need? A quick comparison
Here’s a side-by-side to match your symptom to the right repair, so you don’t waste time pulling apart the wrong thing.
| Symptom | Most likely cause | Fix | Time | Typical cost |
|---|---|---|---|---|
| Handle wobbles/lifts, body firm | Backed-out set screw | Tighten set screw with hex key | 2–5 min | $0 |
| Whole faucet rocks at base | Loose mounting nut | Tighten nut under sink (basin wrench) | 10 min | $0 |
| Loose + poor temp/flow control | Worn cartridge or stem | Replace cartridge | 20 min | $15–$40 |
| Two-handle faucet, one side loose | Worn stem/seat or set screw | Tighten or rebuild that stem | 20–30 min | $10–$30 |
| Loose + corroded, old, leaking base | End-of-life faucet | Replace whole faucet | 1–2 hrs | $120–$350 |
What tools do I actually need, and how do I avoid stripping anything?
For a loose handle you need surprisingly little: a hex key set, an adjustable wrench, a basin wrench, needle-nose pliers, and a flashlight. That’s the whole kit for 95% of loose-handle repairs.
A few mistakes our service team sees constantly — avoid these and you’ll never make the problem worse:
- Don’t over-tighten the set screw. Faucet handles and screws are often soft brass or zinc. Snug, then stop. Stripped threads turn a free fix into a parts order.
- Don’t skip turning off the water before pulling a cartridge — you’ll get an unforgettable geyser.
- Don’t guess the cartridge. Bring the old part or know your faucet model. A “close enough” cartridge leaks.
- Don’t ignore a base that keeps loosening. If the mounting nut won’t stay tight, the rubber gasket or deck plate underneath may be compressed and need replacing.
Mineral scale is a quiet contributor here too — buildup inside the valve makes handles stiff, which makes people crank harder, which works the set screw loose faster. If your area has hard water, descaling the faucet now and then genuinely extends its life; our guide on cleaning hard water stains from a faucet walks through a safe vinegar-soak method that won’t harm your finish.
When should I just replace the faucet instead of fixing the handle?
Replace rather than repair when the faucet is 10+ years old and showing multiple problems at once — a loose handle plus a leaking spout base, worn finish, low flow, and a worn-round valve stem the handle can’t grip. At that point a repair is a band-aid and you’ll be back under the sink in months.
A good single-handle pull-down kitchen faucet today should give you 8–15 years of reliable service. If yours is well within that window and just has a loose handle, fix it — there’s no reason to replace a healthy faucet over one loose screw. But if you’re already eyeing an upgrade, choosing the right model matters more than people think; the same selection logic we cover in how to choose the right bathroom faucet applies to the kitchen — match the mounting holes, spout reach, and finish to your sink and how you actually cook.
Fransiton faucets, for example, use ceramic-disc cartridges rated for 500,000+ open/close cycles and solid-brass handle stems specifically because the soft-metal stems on cheaper faucets are the #1 reason handles won’t stay tight. Better internals mean fewer wobbles down the road.
FAQ
Can I fix a loose kitchen faucet handle without turning off the water?
Yes — if you’re only tightening the set screw or the under-sink mounting nut, you do not need to shut off the water, because you’re not opening the valve. You only need to turn off the supply lines if you’re pulling the cartridge or fully disassembling the faucet.
What size Allen wrench do I need for a kitchen faucet handle set screw?
Most kitchen faucet set screws take a 7/64″ or 5/64″ hex key (roughly 2.5mm–3mm). Brands vary, so the safest move is to buy an inexpensive hex key set that includes every common size — you’ll have the exact one and a few spares.
Why does my faucet handle keep coming loose even after I tighten it?
If the set screw won’t hold, the valve stem it clamps onto is usually worn round or stripped, so the handle can’t get a grip. The fix is replacing the cartridge/stem, or — for a temporary hold — adding a wrap of plumber’s tape on the stem. A repeatedly loose screw can also just be worn out and need replacing.
Is a loose faucet handle dangerous or just annoying?
On its own a loose handle isn’t dangerous, but ignore it too long and it can let water seep into the handle base or stress the cartridge, leading to drips and, under the sink, slow leaks that damage your cabinet. It’s worth fixing promptly because the repair is so cheap and fast.
How much does a plumber charge to fix a loose kitchen faucet handle?
A plumber typically charges $100–$200 for a service call to tighten or rebuild a faucet handle — which is why this is one of the best DIY repairs out there, since the same job costs you $0–$40 in parts and about 15 minutes.
My two-handle faucet has one loose side — is the fix different?
The principle is the same: tighten that handle’s set screw first. If it stays loose or the side drips, that stem’s washer or seat is worn, so you rebuild or replace just that one stem — you don’t need to touch the good side.
About the author: This guide was written by the Fransiton product and service team, drawing on hands-on repair and installation experience across thousands of kitchen and bathroom faucets. Fransiton designs and tests faucets to ASME A112.18.1 / NSF 61 standards for safe drinking-water contact, and backs its kitchen faucets with a limited lifetime warranty on finish and function. As always, if a repair involves your home’s plumbing beyond the faucet itself, consult a licensed plumber.